Last Updated on January 2, 2024 by Rick Darlinton
Premiere Pro is one of the best video editing software for both professionals and beginners. If you are new to Premiere Pro and do not know how to speed up or slow down a video in Premiere Pro, then you come to the right place. In this article, we will show you a total of 3 ways on how to speed up video in Premiere Pro as well as how to slow down a part of the video in Premiere Pro. Now let’s get started.
How to speed up video in Premiere Pro using the speed/duration feature
The easiest way to speed up or slow down a video in Premiere Pro is its speed/duration command. It is easy to use and you can follow the steps below to speed up video in Premiere Pro.
- Download and run the Premiere Pro on your Windows or Mac.
- Next, go to file at the top bar within the software and then select import to add the video to the Premiere Pro timeline.
- After that, if you want to speed up a part of the video in Premiere Pro, just press the c key on your keyboard to trim or cut a video.
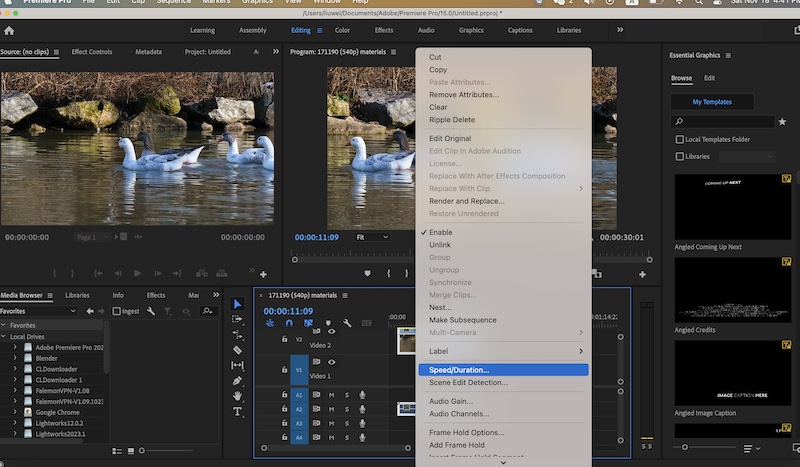
- Select the video clip and then right-click on it. Next, click on the speed/duration option.
- To speed up the video in Premiere Pro, just change the percentage number. 100% means the original speed. 200% means 2x faster, 300% means 3x faster and so on. To slow down a video in Premiere Pro, just change 100% to fewer numbers like 90%, 50% or other numbers depending on your editing requirements.
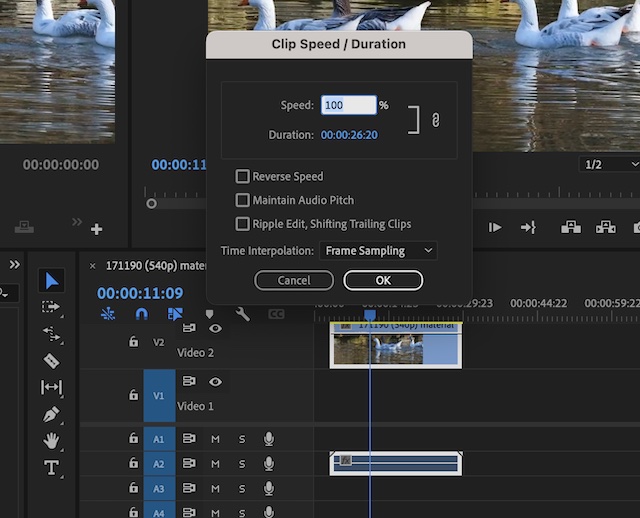
- Finally, click on ok to save the setting.
How to speed up or slow down a video in Premiere Pro using rate stretch tool
Another way to speed up video in Premiere Pro is by using its rate stretch tool. I prefer to use this tool as it is really very user-friendly while speeding up or slowing down a video clip in Premiere Pro. Follow the tutorials below about how to speed up video in Premiere Pro.
- Similarly, add the video to the Premiere Pro timeline.
- Subsequently, click on the editing icon at the top bar.
- Next, press the R key on your keyboard to access the rate stretch tool as shown below.
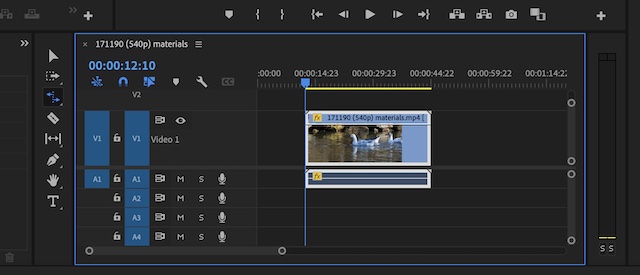
- To speed up a video in Premiere Pro, just drag the video inward. Otherwise, drag the video outward to slow down a video.
It is quite simple to adjust the speed of a video in Premiere Pro using its rate stretch tool.
How to speed up or slow down a video in Premiere Pro using time remapping
Time revamping is the last we we will introduce about how to speed up video in Premiere Pro. Actually, you can also use time revamping to slow down a video clip. Make sure you follow the tips below below.
- Move the video to the Premiere Pro timeline.
- Next, select the video clip you want to speed up or slow down.
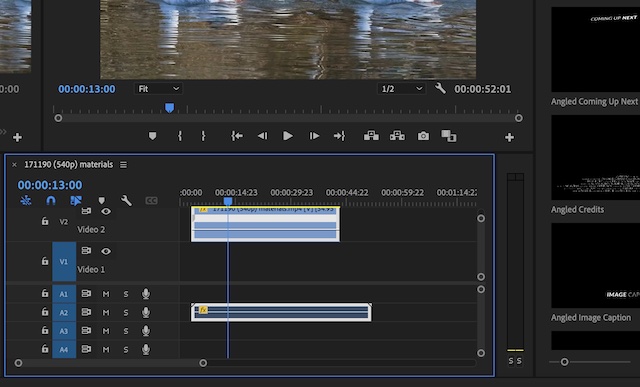
- Subsequently, right-click the video and then click on show clip keyframes and then go to time revampping>speed.
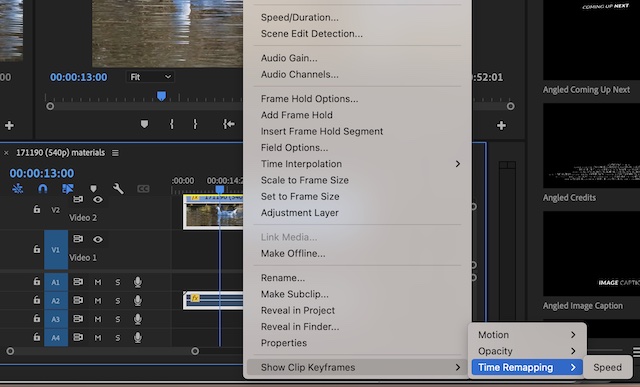
- After that, a grey line will show in the video. Just click on the line and then drag the line upward to speed up a video in Premiere Pro. To slow down a video, drag the line downward.
 Note: sometimes, if you do not see the line in the video, you can drag the bar on the nightside in the timeline to enlarge the space of the video tracks. So, these are some simple solutions about how to speed up video in Premiere Pro as well as how to slow down a video clip. Just select your favorite solution and begin to create your videos using Premiere Pro now.