Last Updated on July 21, 2023 by Rick Darlinton
It is common to zoom in or out on a video when you are doing your video editing work. This happens usually when you want to focus an important part of the video. For example, when you give some tutorials in YouTube, you can choose to zoom in a specific part of the video so that it can be explained clearly. Actually, it is quite easy to zoom in/out on a video on your MacBook by using iMovie program. iMovie is a built-in program on Mac that is available to use for free without watermark. In this post, you will find some specific steps about how to zoom video in iMovie.
How to zoom in video in iMovie
First off, we will show how to zoom in video in iMovie. This solution can help you zoom in on video in movie gradually. Now let’s get started.
Import your video
To start with, please go to applications on your Mac or MacBook and then find the iMovie program. Double-click it to run the iMovie on your device. To add a video to iMovie, just go to file and then tap on import media option. Finally, drag the video to iMovie timeline.
Split the video you want to zoom in
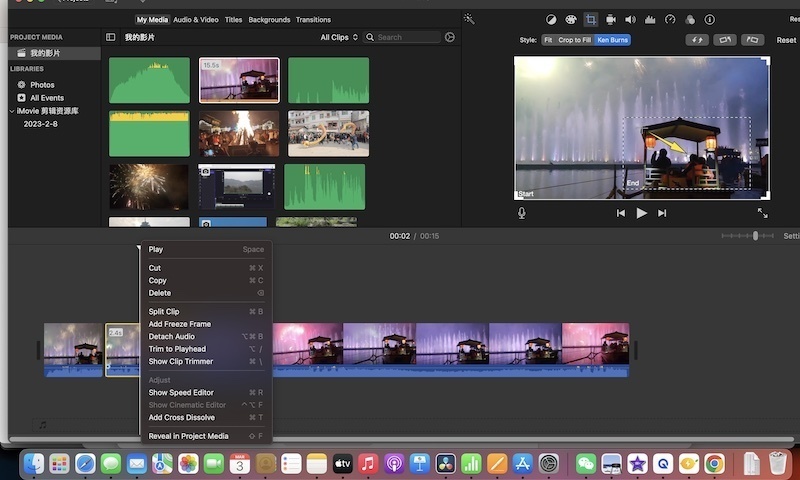
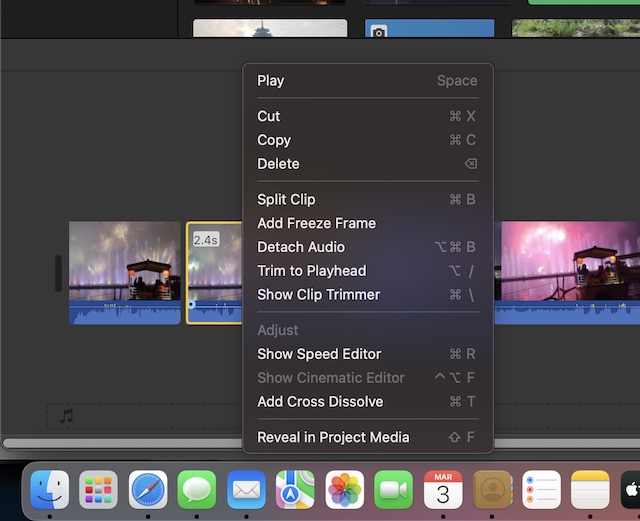
Next, select the video clip you want to zoom in in iMovie. To do this, just move the white timeline playhead to the place where you want to split. To split the video, just press and hold the control key on your Mac and then left-click mouse to find the split clip option.
Zoom in video in imovie
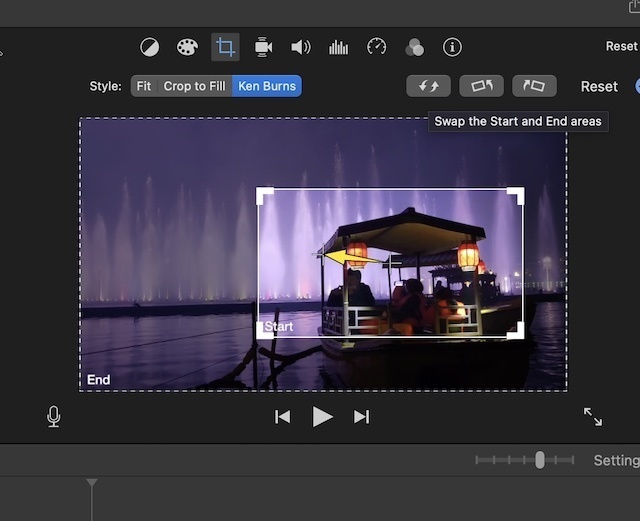
To zoom in video in iMovie, what you need to do is select the video clip and then click on the crop button as shown below on the top of the video preview window. After that, you will find there are three options displayed behind the style word including crop, crop to fill and ken burns. In order to zoom in a video in iMovie, just tap on ken burns button and then the white rectangle will show up. To zoom in a video in iMovie, just drag the edge of the preview white rectangle and then move the rectangle to the place where you want to zoom in. When everything is done correctly, just click on the reset button from the right top corner to save the setting.

Please note there are actually 2 white rectangle areas within the preview window including start and end areas. The start area will show at the beginning and apparently the end area exists at the end. So, if you hope to zoom in a video in iMovie, just drag the edge of the start white rectangle and set it as the entire screen. Then you can drag the edge of the end rectangle area and move it to the part you want to zoom in. This will make the video clip move from the entire video to the zoom in part gradually.
Save your video
Finally, if you are satisfied with the work, just move to file at the top bar and then go to share>file to export the video to your device.
How to zoom out a video in iMovie
After you zoom in a video in iMovie, if you want to zoom out, it is super easy to do so. Just click on the option called swap the start and end areas on the top of preview window to zoom out in iMovie.
Now you will learn how to zoom video in iMovie and we hope these simple tricks will help you zoom in or out any part of the video gradually and smoothly. Apart from iMovie program, there are also many other types of video editing software that allow you to zoom in or out on a video. One of the best free video editors is the capcut that is super to zoom in or out a video on android or iPhone.