Last Updated on July 21, 2023 by Rick Darlinton
Recording a video is not just enough; you need to undergo several editing and trimming processes to take out the unnecessary footage and make it look compelling. Trimming or editing any photo or video is not that difficult on Mac. It can be done easily using the built-in Apple apps. If you are wondering how to trim video on Mac, then you’re at the right destination. Here, we’ll show you how to trim video like a pro.
Trim Video Using PowerPoint Mac
This is a simple method for video trimming with a variety of advanced features. Trimming a video with complete accuracy is just a matter of a few seconds with PowerPoint. Open PowerPoint and click on Video in the Insert Menu.
Next, tap Video on My PC. Choose the required video and click on it. Tap the Playback menu and hit Trim Video. Select the video’s starting and ending using the bars. See the preview and then tap OK.
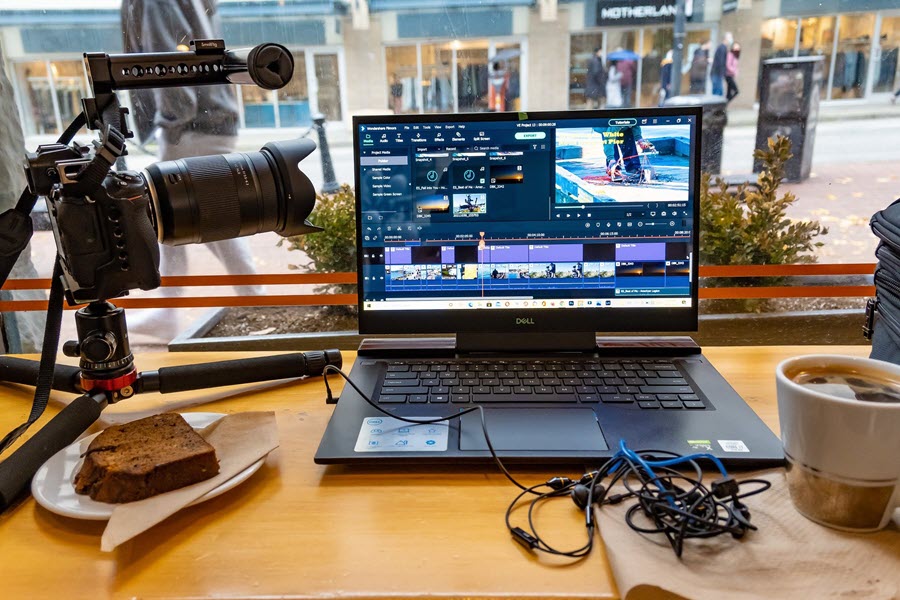
Use QuickTime Player Application
If a third-party Mac photo editing app or video editing tools look like they are not going to help you, use QuickTime Player. This is a default app on every Mac computer for playing, recording, trimming, editing, and sharing images and videos.
Developed by Apple, this app allows you to split a movie into clips and add a movie to an existing one. You can edit the length of any video from start to end. Note that it is good just for basic editing.
Edit a Movie in QuickTime Player
Trimming a certain part of the movie on Mac is possible using a highly trusted QuickTime Player. Instead of wondering how to trim video on Mac, use its trimming bar. Open the QuickTime Player app on your system.
Now, access the movie you would like to trim and select Edit. And then tap on Trim. Next, drag the yellow handles into the trimming bar. For accurate editing, tap and hold a handle to identify individual frames. At last, click Trim.
Split Movie Clip in QuickTime Player
Have you split any movies into clips on your Mac? Do you wish to trim those clips? Again, you can use QuickTime Player. In this app, select the View and then Show Clips option. Now, click twice on the clip you wish to trim.
Adjust the yellow handles in the trimming bar to choose the required portion of the clip you want to save. To see individual frames, click and hold a handle. Finally, tap on the Trim button.
Use Apple’s Native iMovie App
iMovie is the most commonly used app for video editing and trimming on iPhone and Mac. Available free of cost, this program supports 4k video resolution and offers a variety of preset templates. Plus, the app is easy to use for even novice users.
To use it for video trimming:
- Open it and create a New Project.
- Tap Import Media in the file menu and choose the required video.
- Drag the video to the timeline and select video starting and ending using Playhead markers.
- In the Modify menu, tap Split Clip.
Trim on Mac Using Photos App
You can use your Mac’s Photos App for video trimming. To start the process, open this app and scroll down to the Media Types option under Albums. Then, click on the Videos button. Double-click the video you would like to trim, hover over it, and tap the Gear icon.
Click the Trim option and trim the beginning, end, or both using the ends of the yellow frame. To save the edits, click on the Trim button. The best thing about the Photos app is that it gives you access to easy video editing tools.
Remove Passage from the Video
Using iMovie, you can cut a passage out from the video clip. Go to the Timeline to find the clip you want to remove. Make the first cut by putting the playback marker at the required point. To confirm the cut, hit Split Clip.
Put the playhead at a point you wish to make the second cut. Confirm the cut by pressing CMD + B. Choose the middle section and delete that with the Delete button. In case the MacBook keyboard is not working properly, connect an external one to edit a video clip.
Use a Professional Editor

A number of feature-packed editing tools are available online for video creators. The advanced features integrated into these apps are exclusively designed to help users edit a video clip like a pro.
Several tools allow you to divide the video into multiple smaller portions and remove the unnecessary clips as per your video creation needs. Make sure to download these tools from their official websites only.
The Conclusion
Anyone who wants to make their videos engaging and compelling can use the built-in or professional tools on Mac. Whether you want to combine different clips into a seamless video or trim a certain part, you can easily do it on your Mac.
You can trim or edit videos for YouTube, Snapchat, and other social media using a reliable tool. Make sure to determine your video-editing needs to pick the right tool that works best for you.