Last Updated on December 2, 2023 by Rick Darlinton
Let’s be honest, the value of your files is down to the backup plans you have set up for them. Phones, like any material item, can get damaged, stolen, or lost. In situations like this, you shouldn’t have to worsen the traumatic experience of losing your mobile device by not backing up files on Android. There are different methods to back up Android phone. But some methods are only compatible with specific files like pictures, data, settings, and others. For clarity, let’s outline these methods and the items they cover about how to backup android phone.
How to backup Contacts,settings, apps, and data on Android
Thanks to the Android operating system, backing up items like settings, app data, and a few other things to Google Drive can be done behind the scene.
The process is automated, so you don’t have to do anything once it’s setup. Most Android devices have this backup enabled on default, but there might be occasions where you have to turn it on.
Here’s a step-by-step guide on using the Android default backup service to backup apps data, contacts ,settings and more on android
Step 1. Go to ‘Settings’ on your Android device
Step 2. Locate and select ‘System’ within the Settings interface
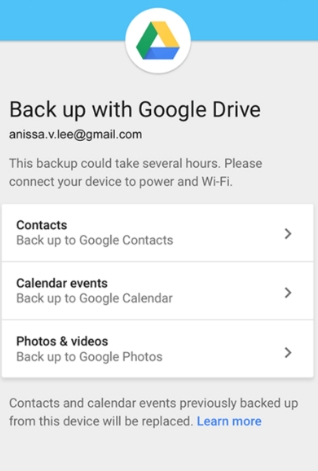
Step 3. On the ‘System’ page, click on ‘Backup’. You can tell if the backup is active by looking at the toggle switch situated beside the ‘Backup to Google Drive’ tab.

Step 4. If a backup is inactive, get it enabled by clicking the toggle switch. You’ll need to select the Google account for this backup process – only applicable if you have multiple Google accounts.
Step 5. While this backup process occurs automatically, you can still do so manually by clicking the ‘Backup Now’ tab. However, you might want to ensure the device is well-charged and connected to a Wi-Fi network, so you won’t have to spend hours trying to backup your device.
This process lets you backup the following
- Contacts
- Calendar events
- Wi-Fi details
- Wallpapers
- Gmail settings
- Apps
- Display settings
- Input settings and Language choice
- Date and time
- App data (differs with app)
This Google backup process is available on every Android device, and you don’t have to pay a dime for the service.
With every completed backup, the items covered and the time of backup are outlined. You can click on each item to learn more about the backup done or make relevant changes where necessary.
It’s worth adding that the nature of the restoration process following a successful backup from a different mobile phone brand might differ. For instance, when you backup files on a Samsung device, you might observe changes to the files when they’re restored to a different phone like the Pixel.
How to backup photos and videos on Android using Google Photos
To back up photos and videos on Android, you can leverage Google Photos. The app allows you to store media files on its cloud storage for free, albeit with conditions – the resolution of the media file is constrained. The 15 GB limit of available storage is applicable if you’d prefer to backup your media files with their resolution intact.
Not sure how to use the Google Photos app to backup media files on Android? Then follow the steps outlined below:
Step 1: Sign in to your Google account
Step 2: Install the Google Photos app
Step 3: Open the Photos app, then click the Menu button situated at the top left corner.
Step 4: With the Menu on display, click the ‘Settings’ tab.
Sterp 5: Once the content of the ‘Settings’ is on display, click the Backup and sync option to turn it on.
The Google Photos app allows you to decide what you backup by editing the backup folders. You can do this by ringing the changes in the Backup device folder section.
How to backup files on Android using Google Drive
Files backed up to Google Drive on one Android device can be restored to another if the need arises. While this is a free service from the tech giant, your storage capacity is limited to 15GB. The great thing about uploading files to Google drive is that you can do with the files as you wish – editing files, sharing and others are possible on the drive.
Items that can be backed up to the drive include images, videos, documents, and audio files.
Here are the steps about how to backup files on Android using Google drive:
Step 1: Locate and open the Google Drive software on your phone
Step 2: Click the (+) sign at the bottom right corner of your phone screen
Step 3: Select ‘Upload’, then locate and add the files to be uploaded to the drive.
If you intend to upload folders on your phone, you will have to connect the mobile device to a computer.
Back up files from Android to Windows or Mac computer
Not everyone wants to backup their sensitive files to cloud storage. There’s that persistent suspicion hovering around this type of storage. If you’re one of those not comfortable with backing up files to the cloud, you can back up Android files to your computer instead.
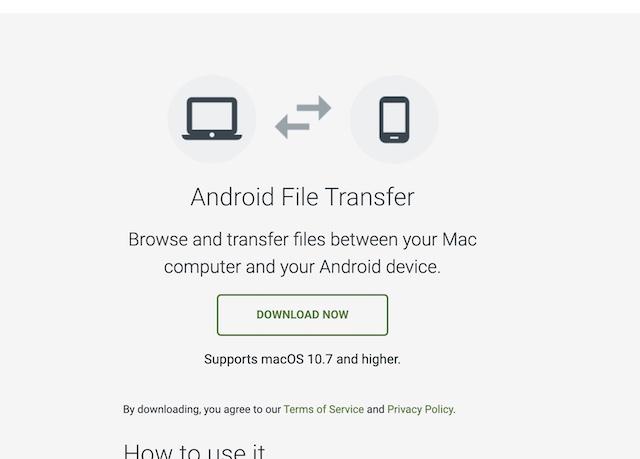
The backup process can be done on Windows and macOS based computers. But you’ll need the Android File Transfer software if you intend using a macOS computer.
Here are the steps to follow to back up files such as photos, videos, and more from Android to your computer:
Step 1: Using a USB cable, connect your Android device to the computer
Step 2: Access the files on your Android device by going through the device details on the computer
Step 3: Use the Android File Transfer app to move the preferred files from your mobile device to the MacOS computer.
If you find the Android File Transfer app interface unpleasant, perhaps you should consider third-party apps like the Dr. Fone backup and Syncdroid.
In Syncdroid, you have a free app that allows you to backup files from your Android device to a computer. The Dr. Fone app is a paid app that allows you to back up a wide array of files including app data, photos, videos, call history, and contact to your computer.